Navigation and Customisation in Planner
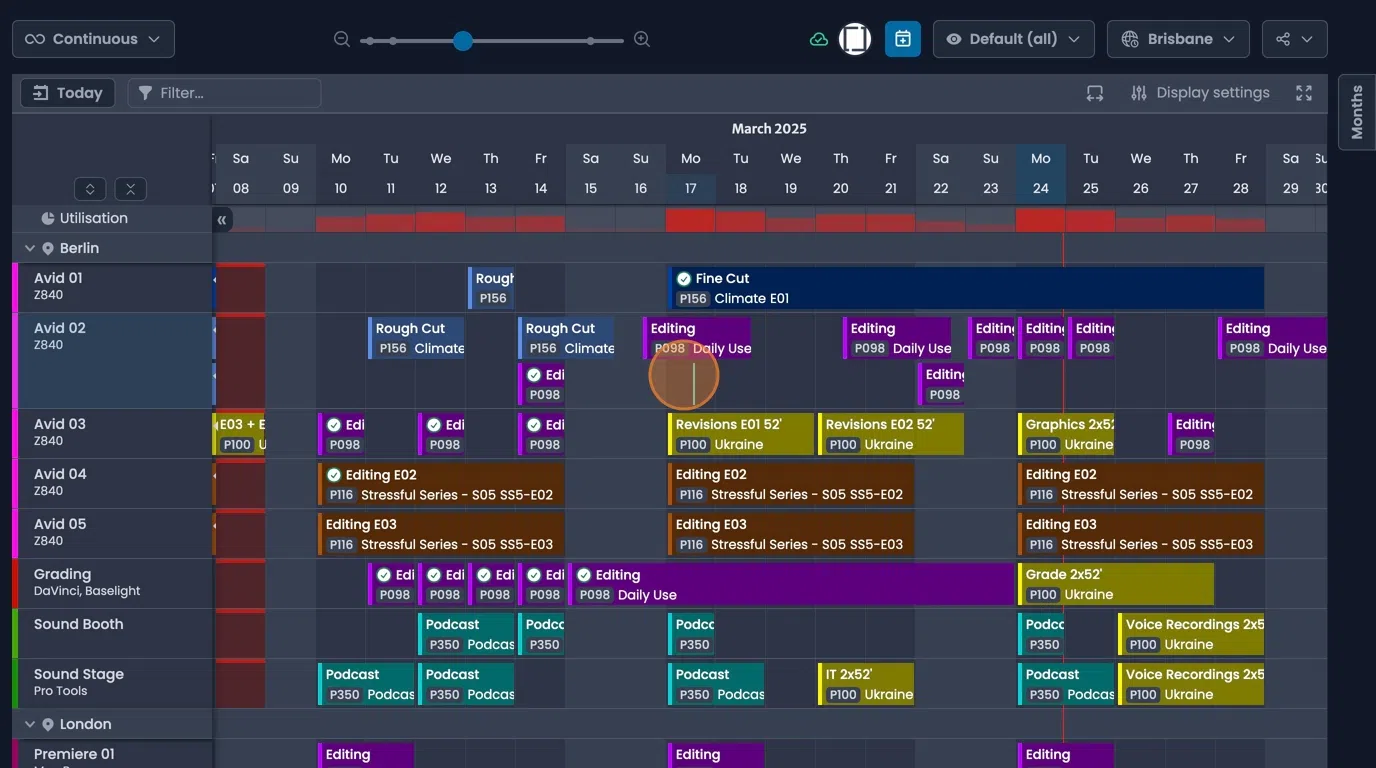
Planner Navigation
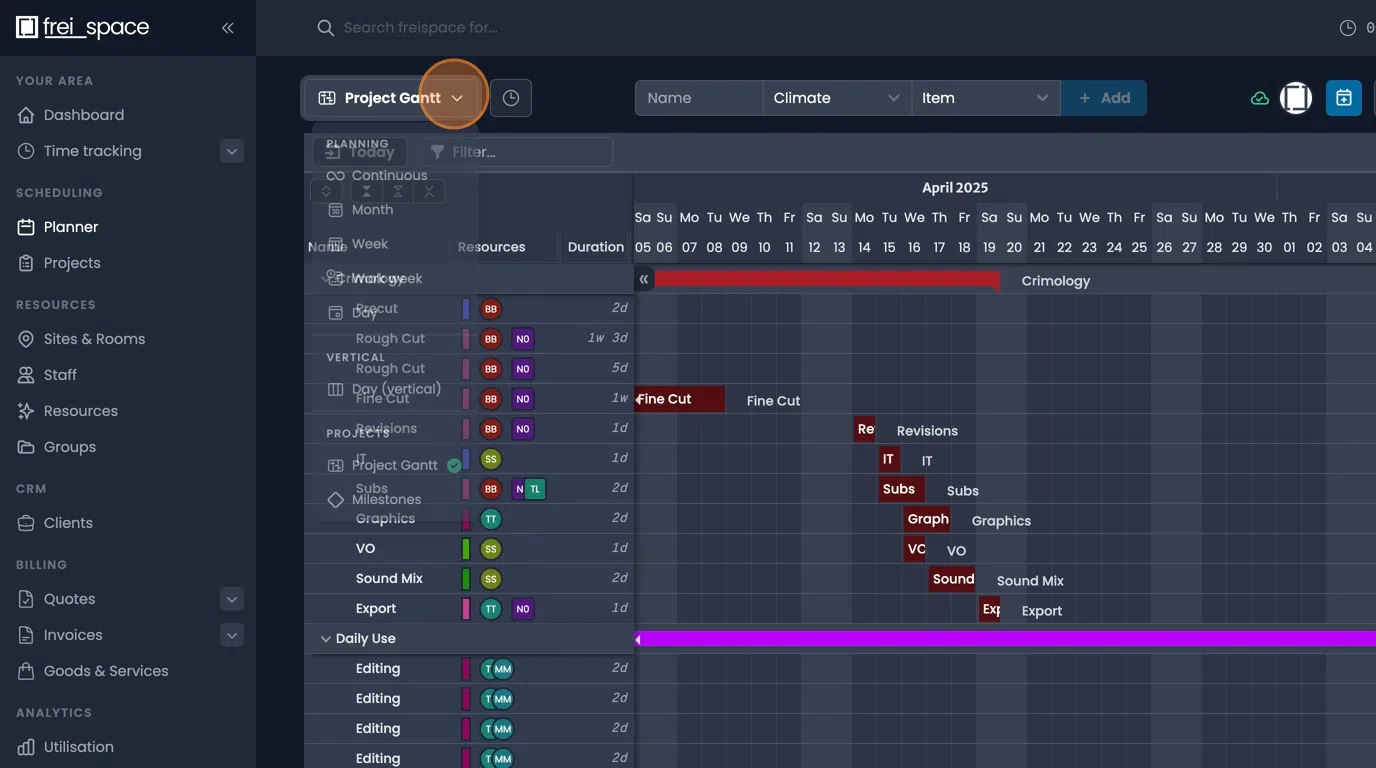
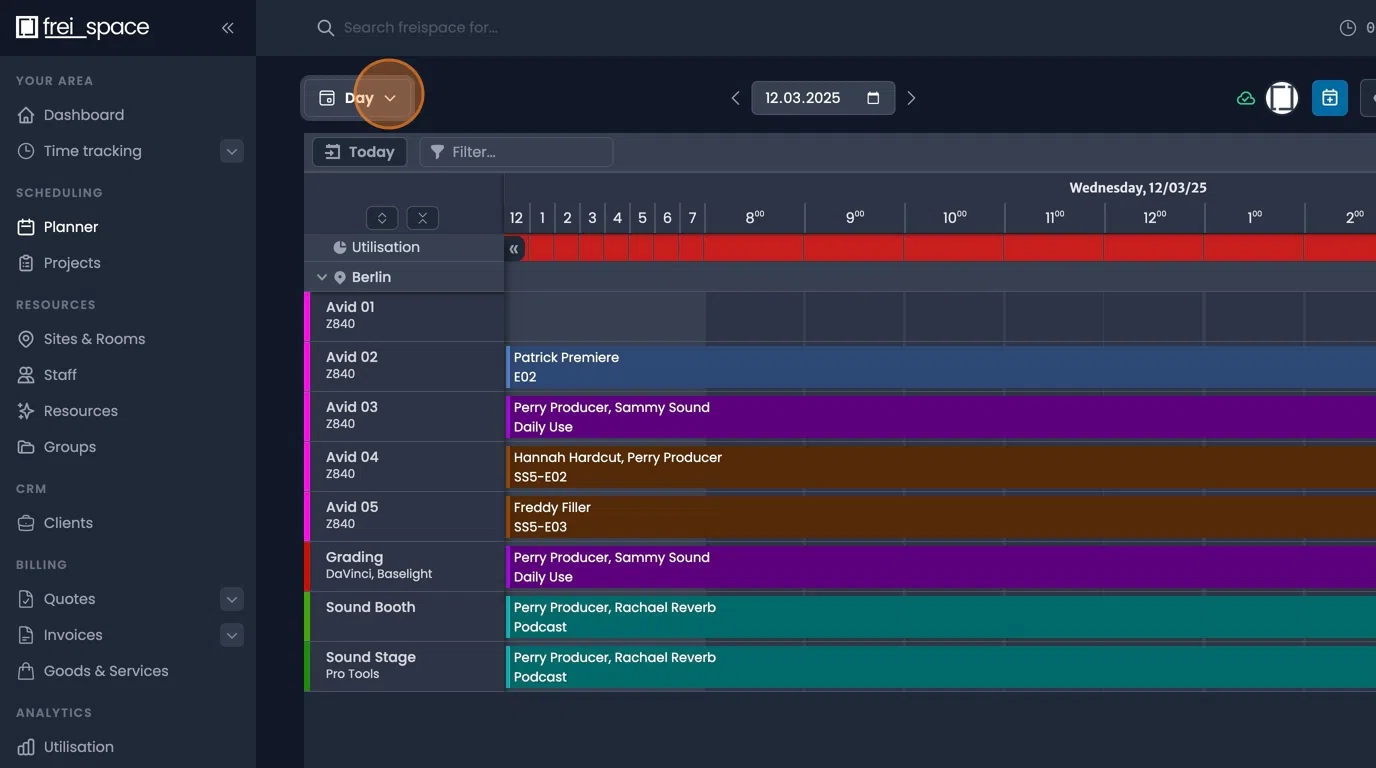
- Click the button on the top left to change time viewing modes.
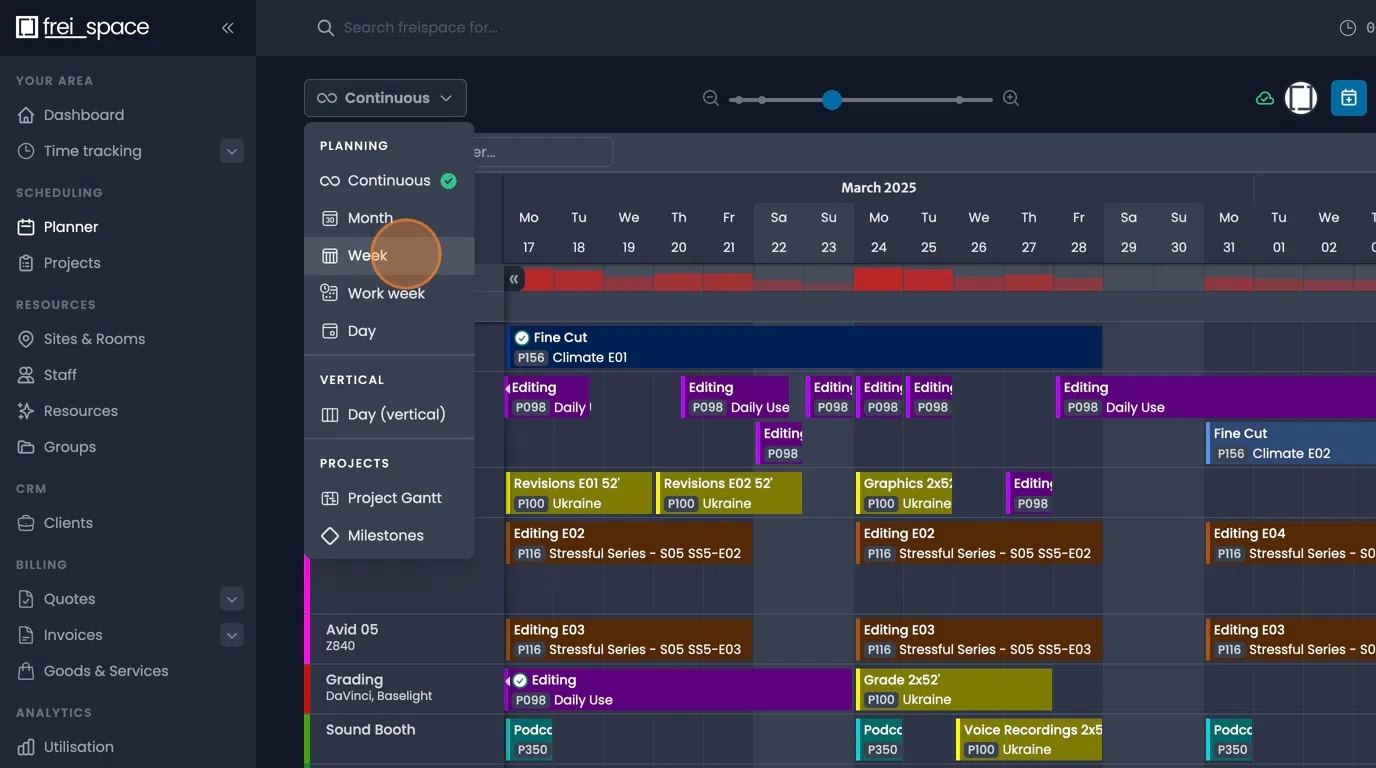
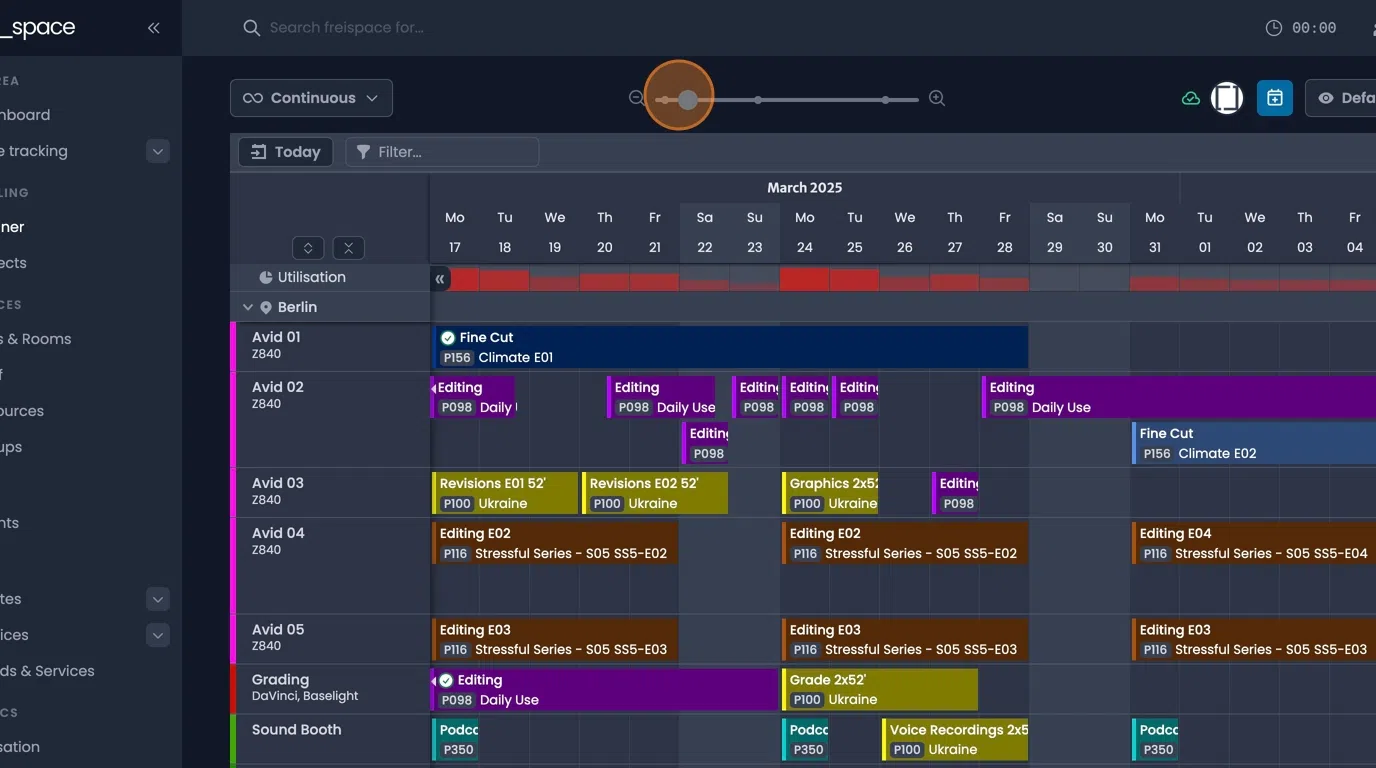
- In the "Continuous" mode, clicking on the slider alters the time frame shown.
- You can switch between resource lists, or create new new ones, through the dropdown menu on the right.
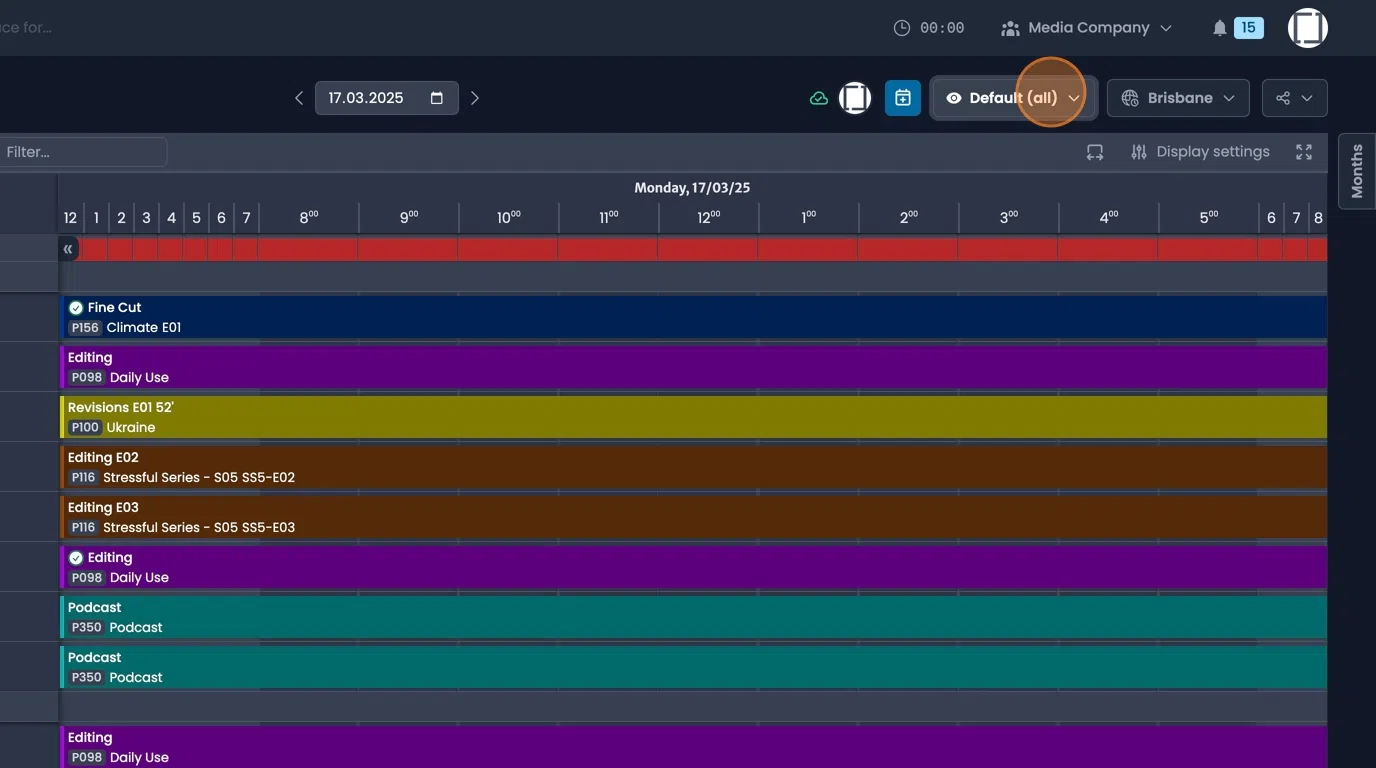
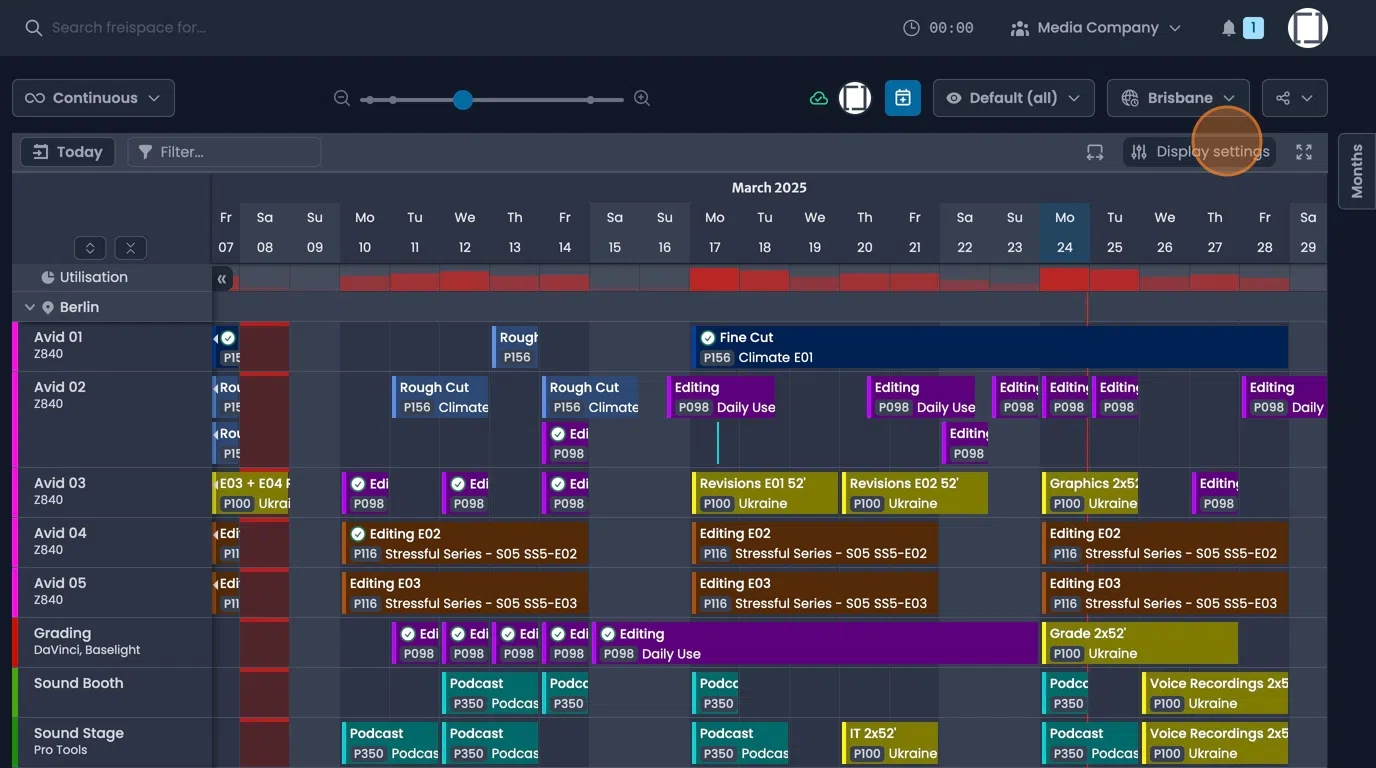
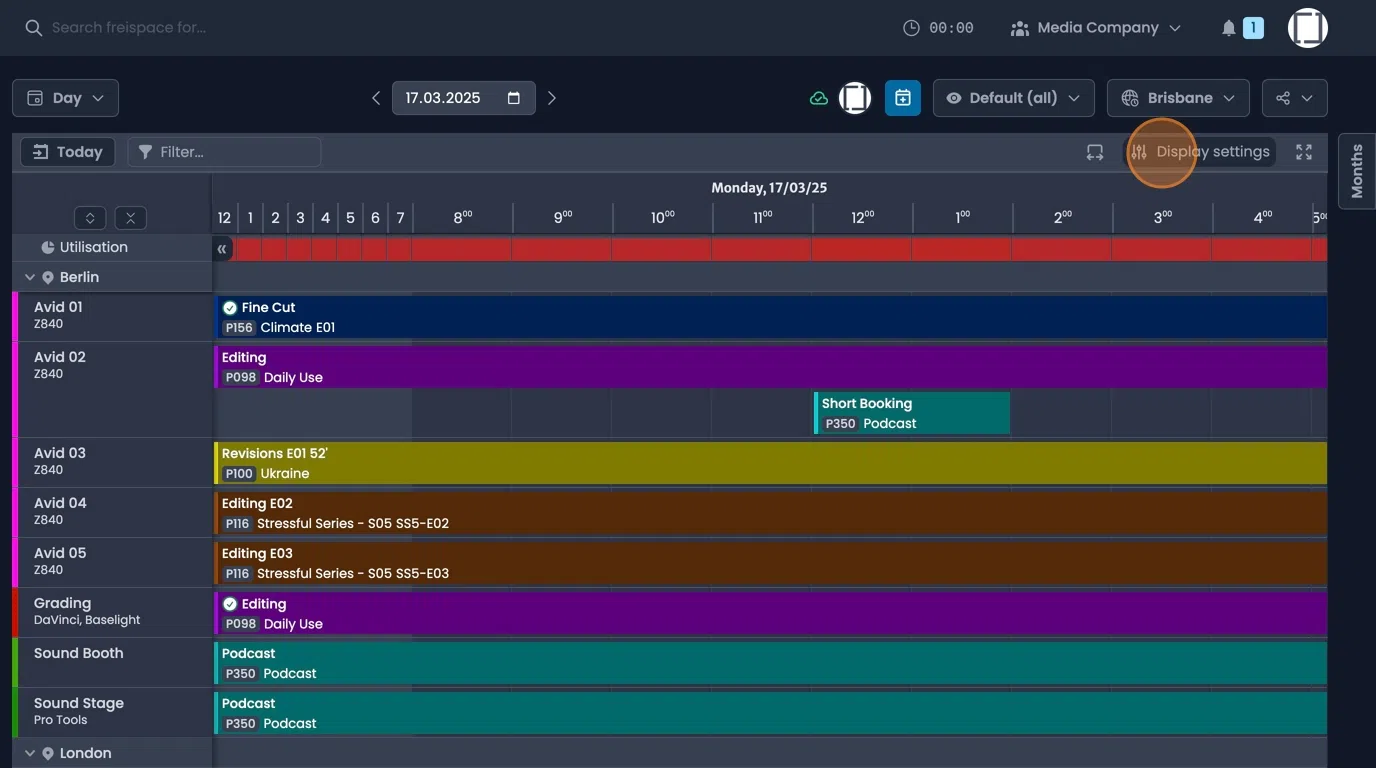
Display Settings
- When viewing the planner on a large timescale you can use the "Enforce minimum visual booking width" option to display short bookings more visibly.
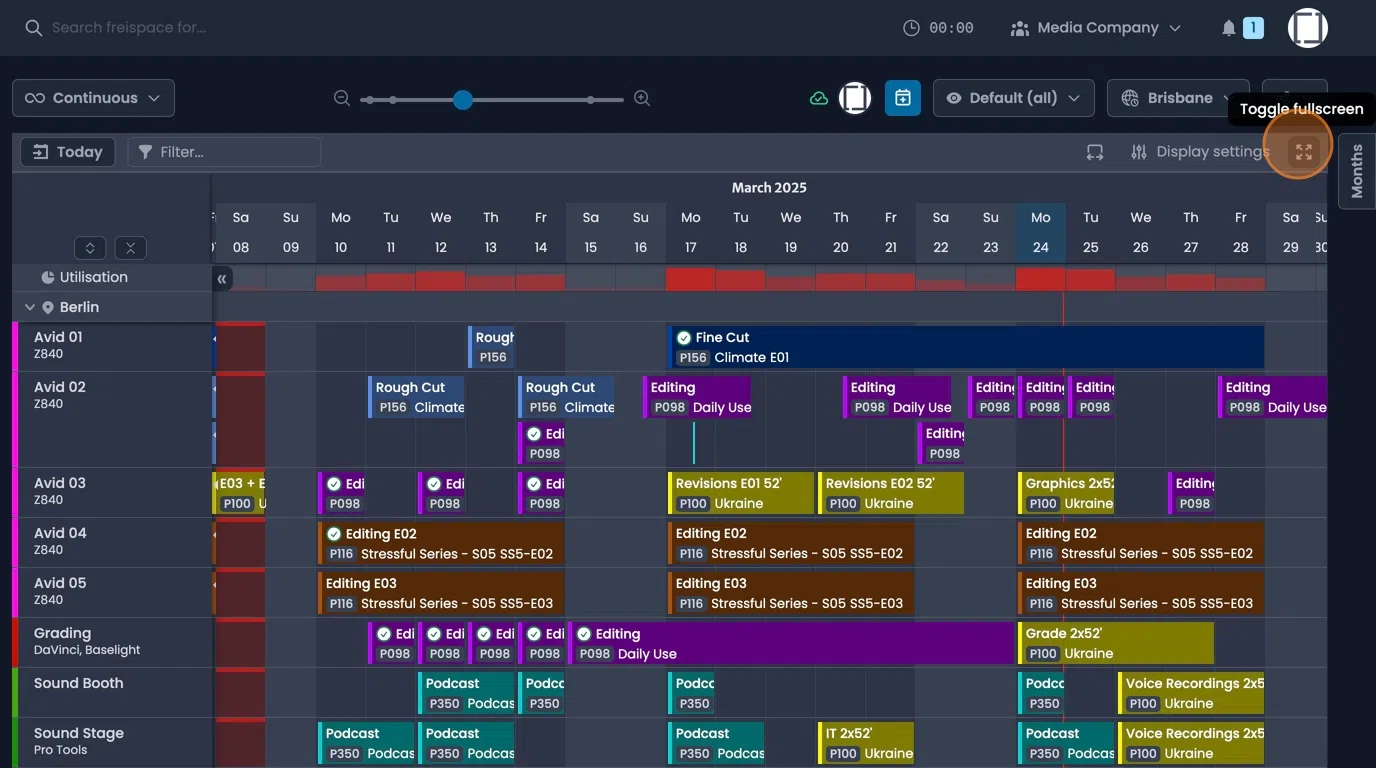
- Fullscreen can be toggled using the button on the right of the planner
- A calendar can displayed for quickly navigating to a specific date.
This calendar can e show thorough clicking the "Months" button on the right, or selecting "Three month calendar" in the drop down.

- The "Condensed view" can be activated to bring more resources with limited information on one screen.
- Toggle "Weekdays" and "Week numbers" to show and hide this information.
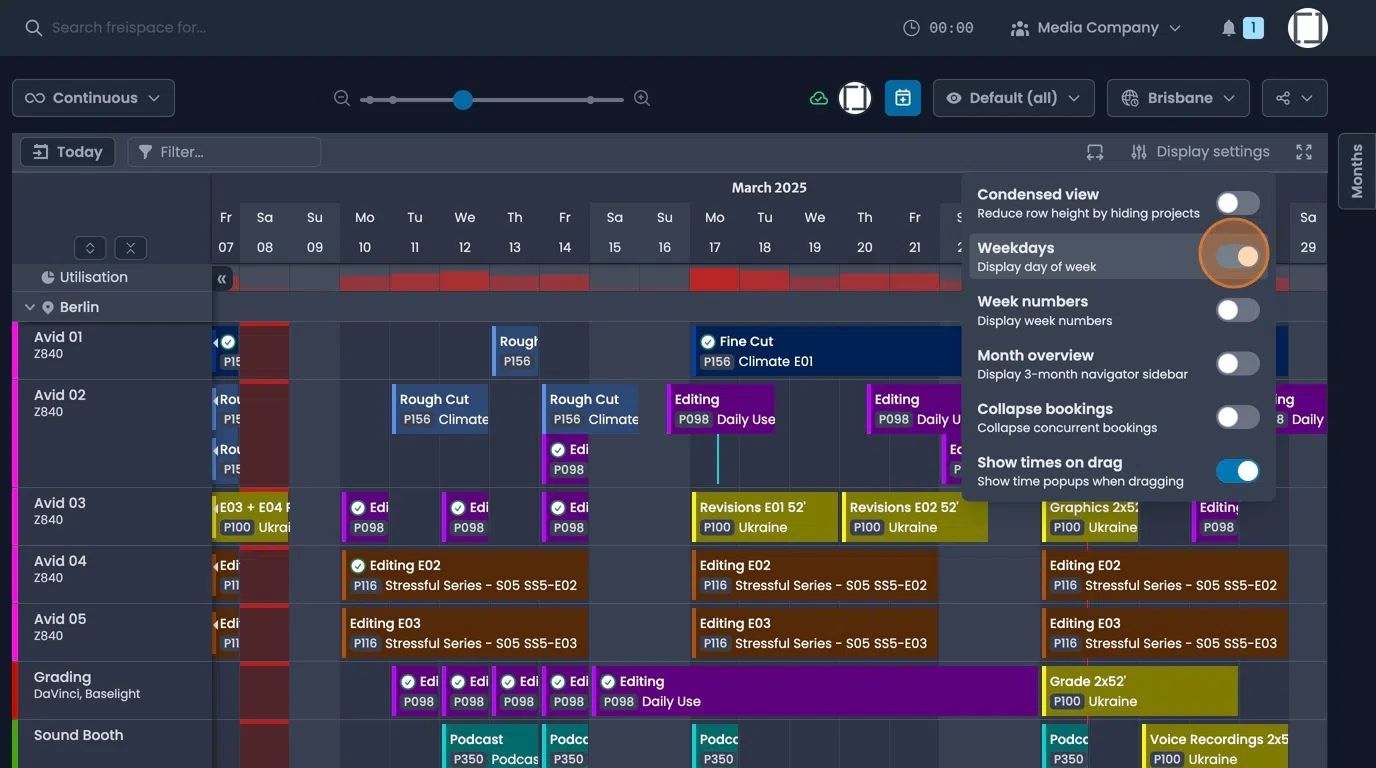
- Use the "Collapse bookings" option to merge the display of concurrent bookings.
Clicking a concurrent booking will display the individual bookings and the "+" & "-" buttons next to the resource name can be used to show or hide the bookings.
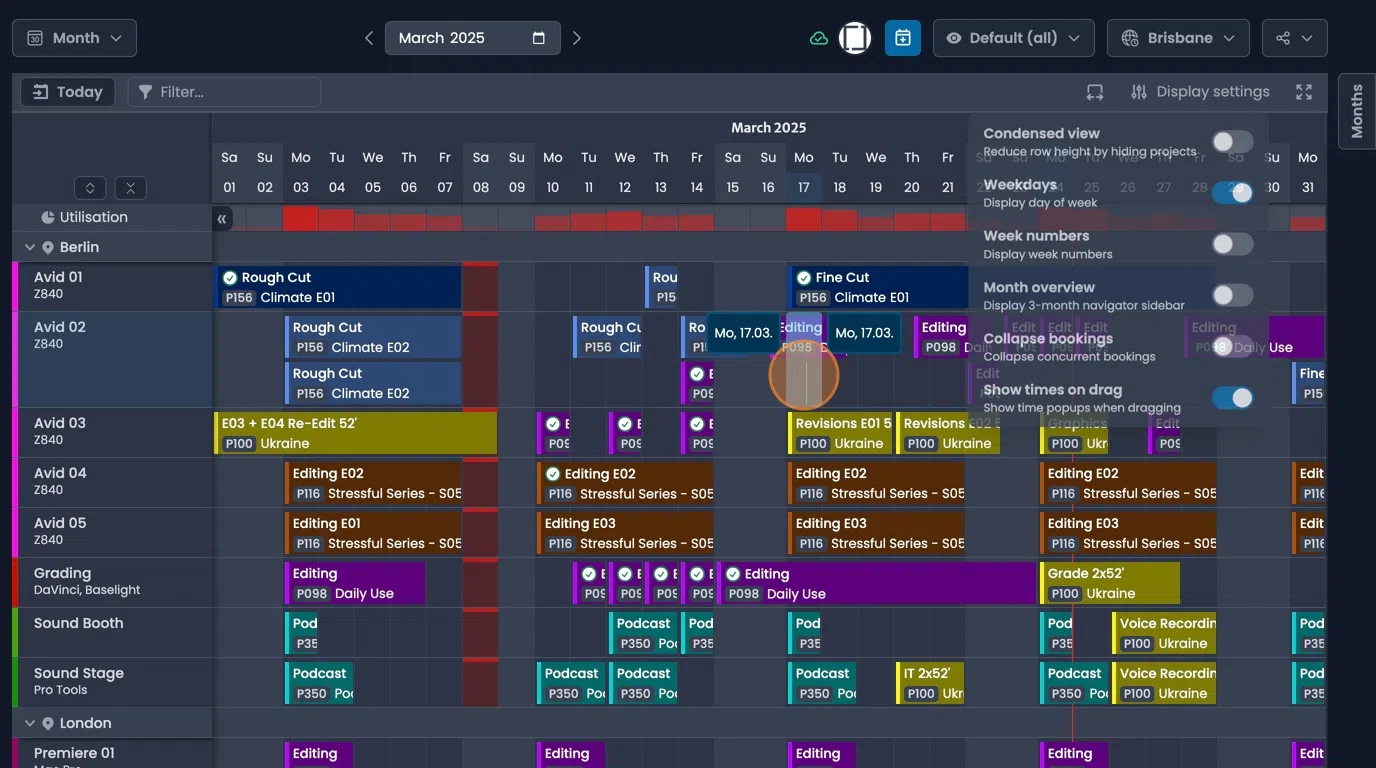
- Toggle the "Show times on drag" option to display times while dragging a booking.
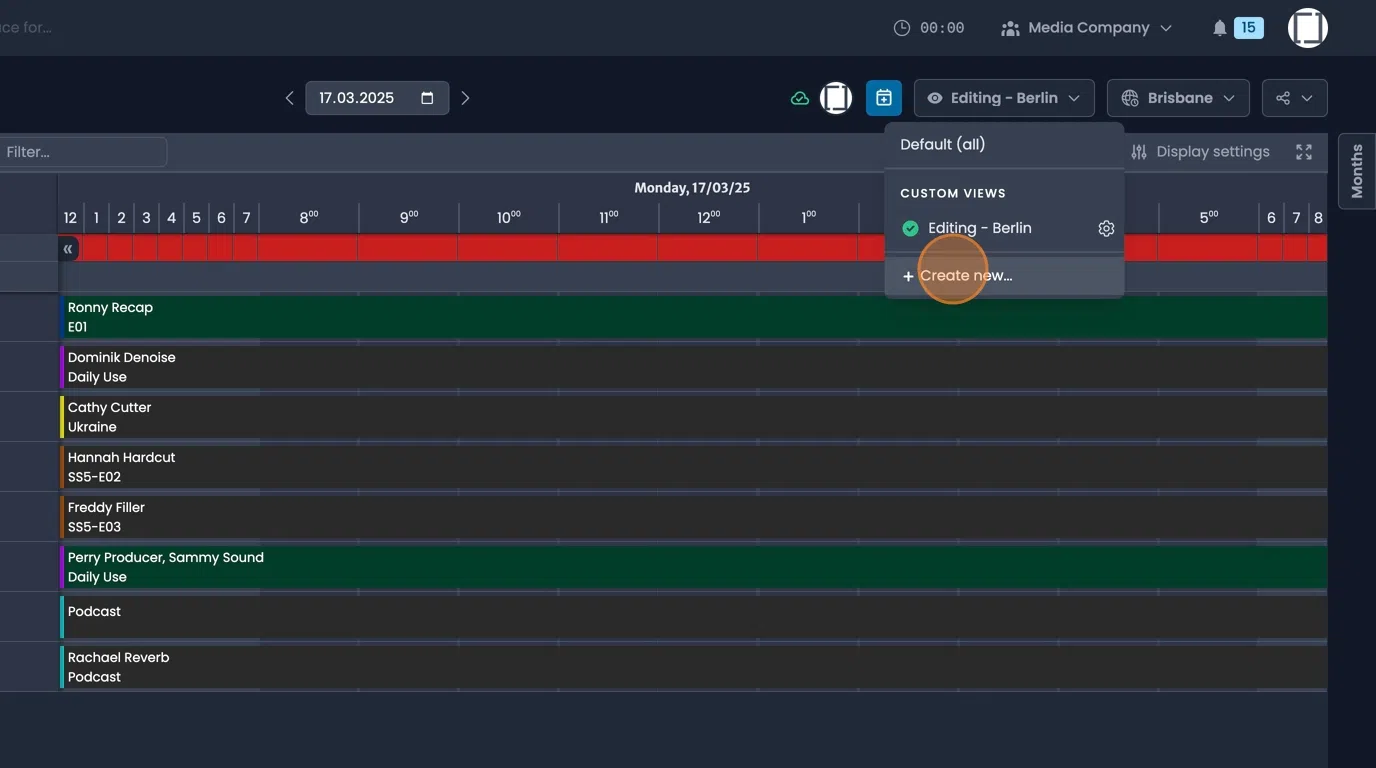
Custom Views
- To create a new resource list view in the planner "Create new...", then select and rooms, people, or resources you wish to see in the view.
Give the list a name and decide if it should be private or to share it with your team.
- To customise the Information displayed within a view, click on the gear symbol next to the name.
Navigate to "Display settings", open the list of "Available Options".
Copy and past the required options, including the brackets, to the relevant fields then select update.
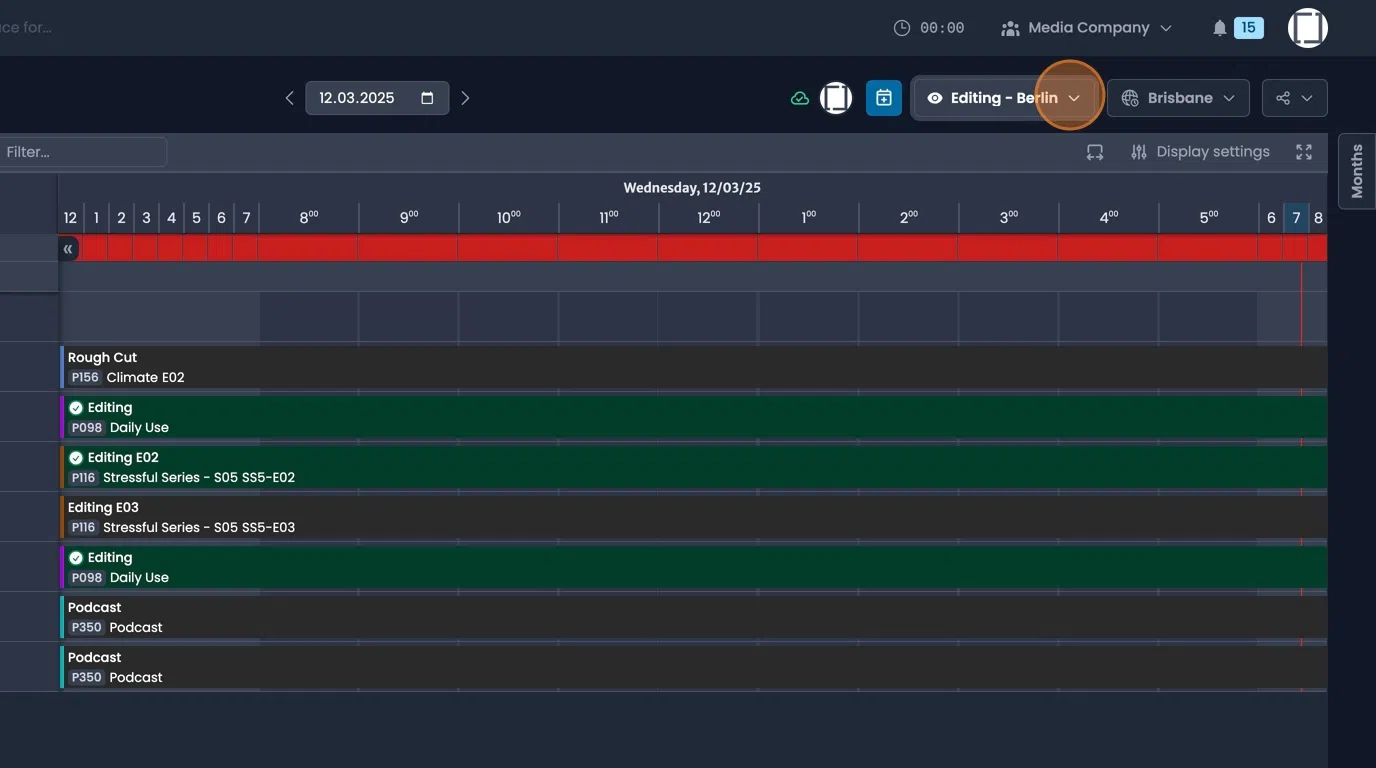
- The colours bookings are displayed in can also be customised.
Click the gear symbol next to the name.
Navigate to "Display settings", in the "Booking colours" panal open the "available options" tab.
Copy and past the required options, including the brackets, to the relevant fields then select update.

Project Gantt
tip
For a comprehensive overview of Gantt planning, visit the Project Gantt page.
- Access Gantt-style planning by selecting "Project Gantt" in the drop dow menu on the top left.
Select the projects you wish to view in the drop down on the top right.
Milestone Overview
- For an overview of Milestones, select "Milestones" from the drop down menu on the top left.
Select the Projects you wish to view from the drop down on the right.