Creating bookings
- To create a new booking:
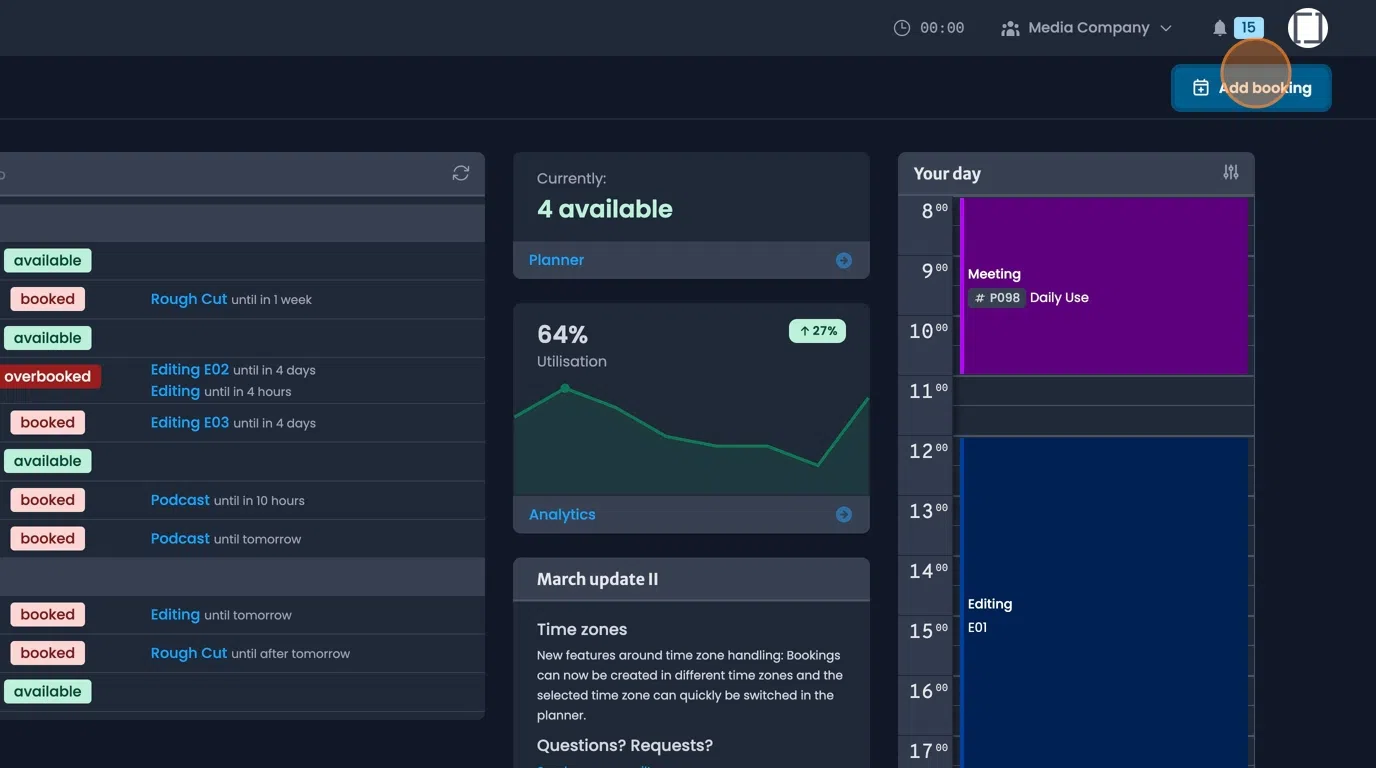
- either click on the "Add booking" button that appears on numerous pages at the top right,
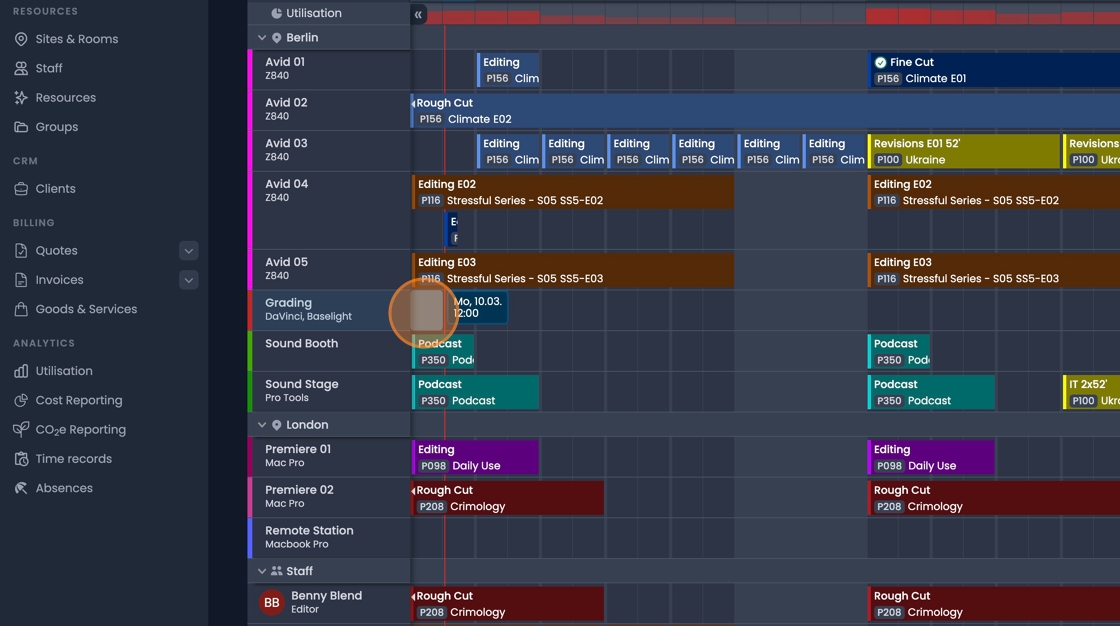
- or click&drag directly on a resource within the "Planner" page.
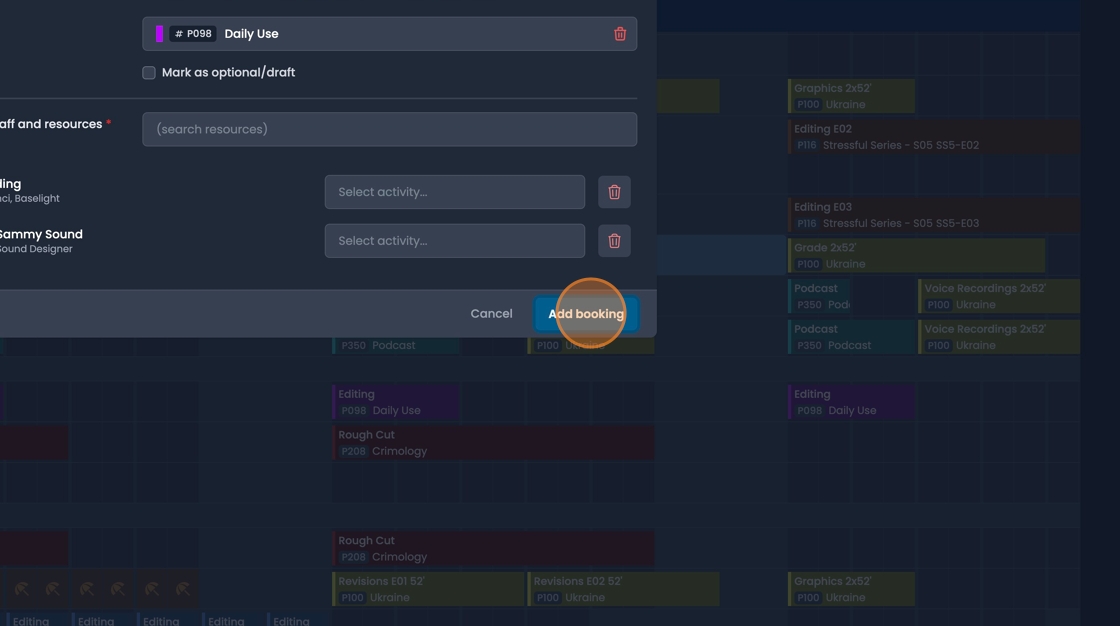
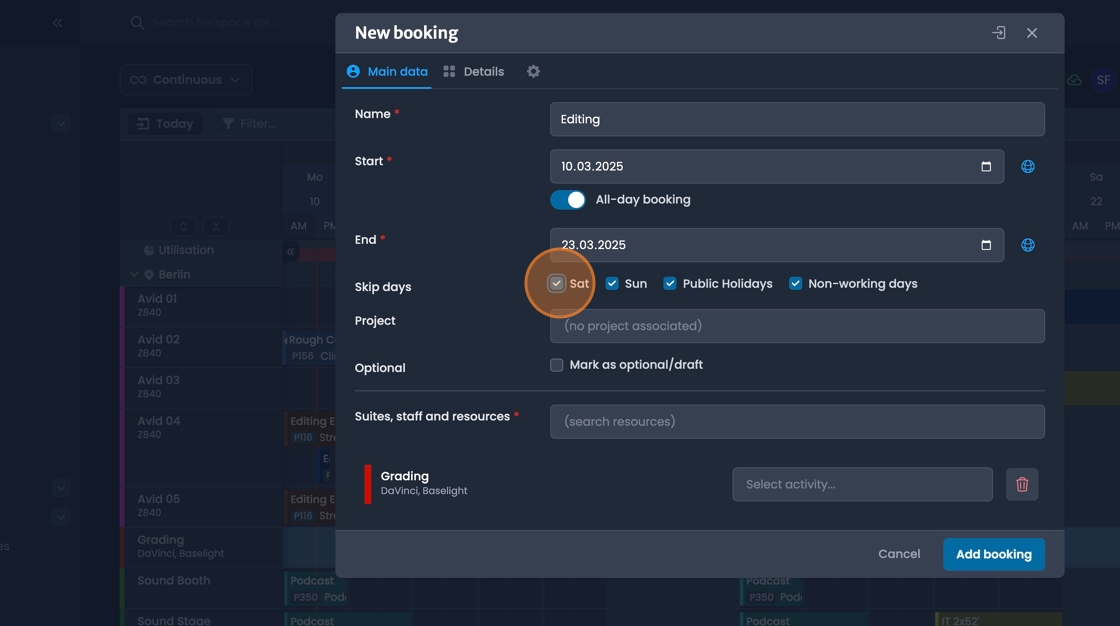
- In the new booking dialog window, name the booking.
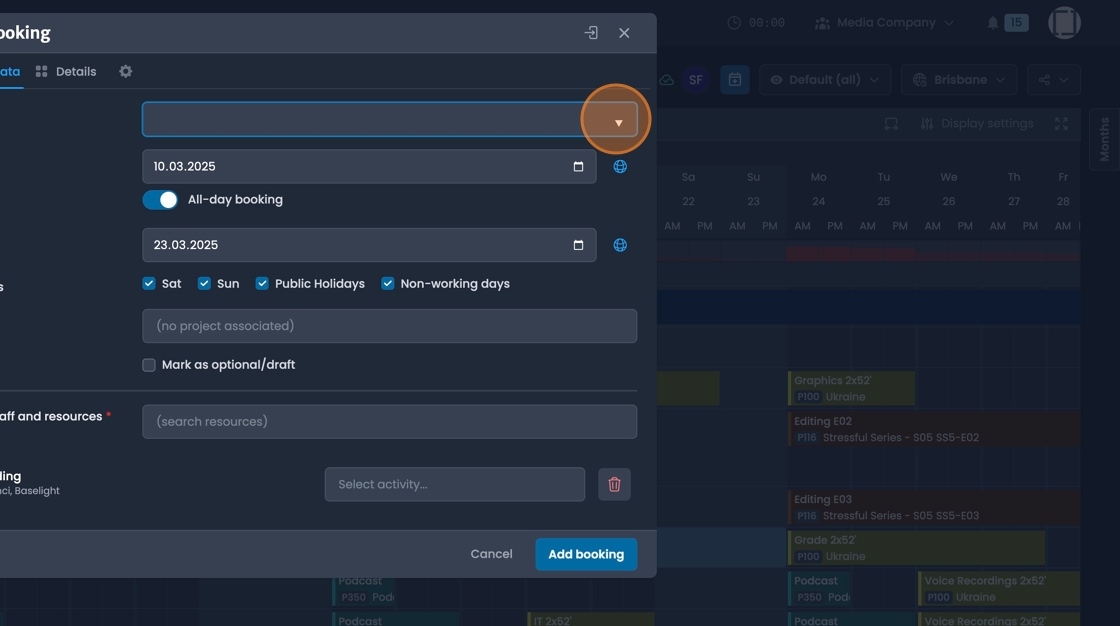
- Select or adjust date and time. You can choose whether the entire rage should be one booking, or if days are to be skipped.
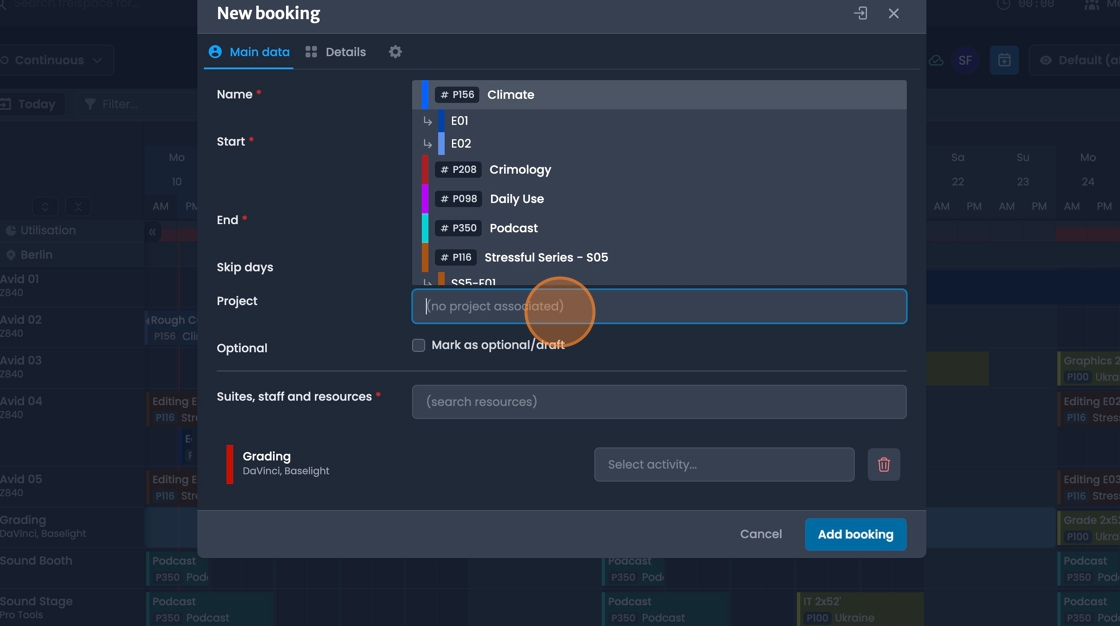
- Select a Project.
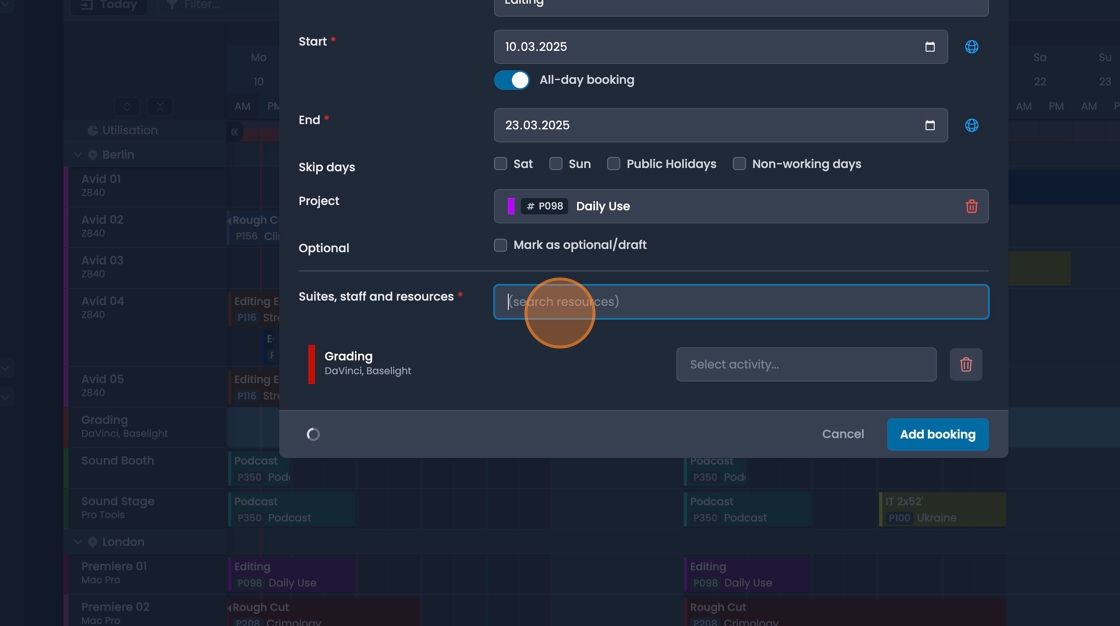
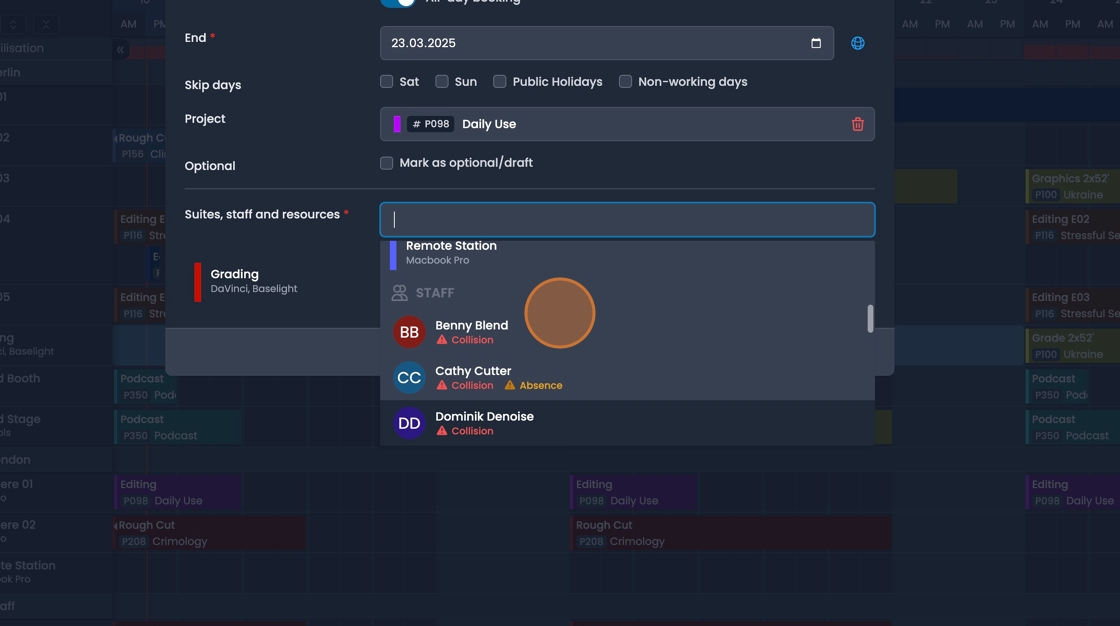
- Assign resources: Click the "Suites, staff and resources" field. Text can be entered to filter results.
You can search for "Names", "Roles", "Groups" and "Sites"
e.g. Typing "Editor" will bring up a list of any staff members that have the role of "Editor"
Warnings are displayed when a resources are pre-booked, or when employee is absent.
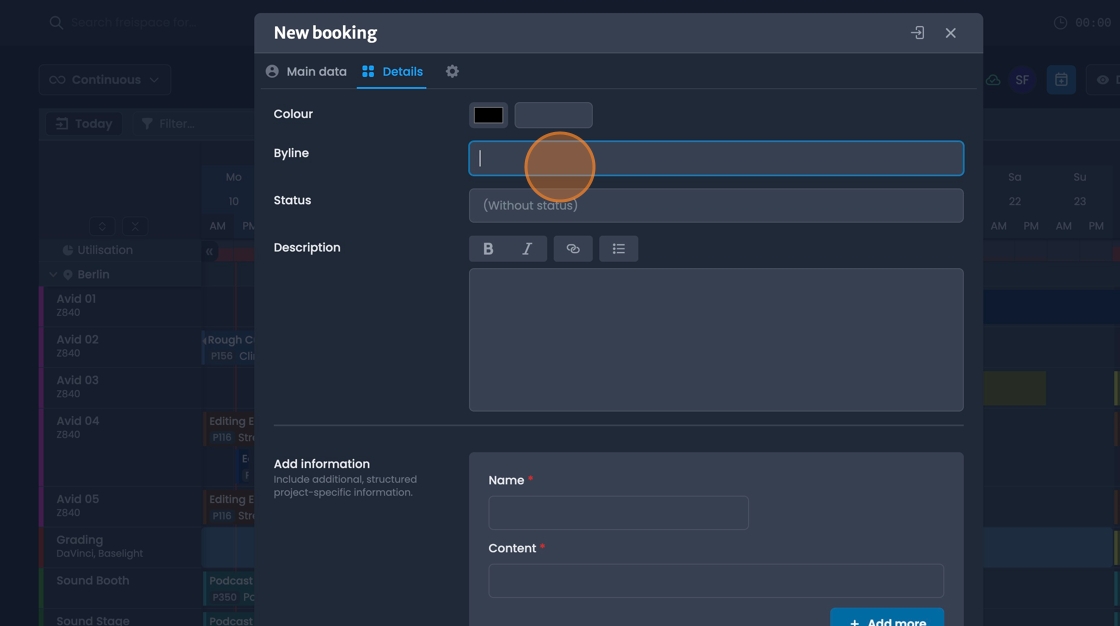
- The "Details" tab can be used to add further information to the booking such as, assigning a status, or writing a description.
- Create your booking by clicking "Add booking".